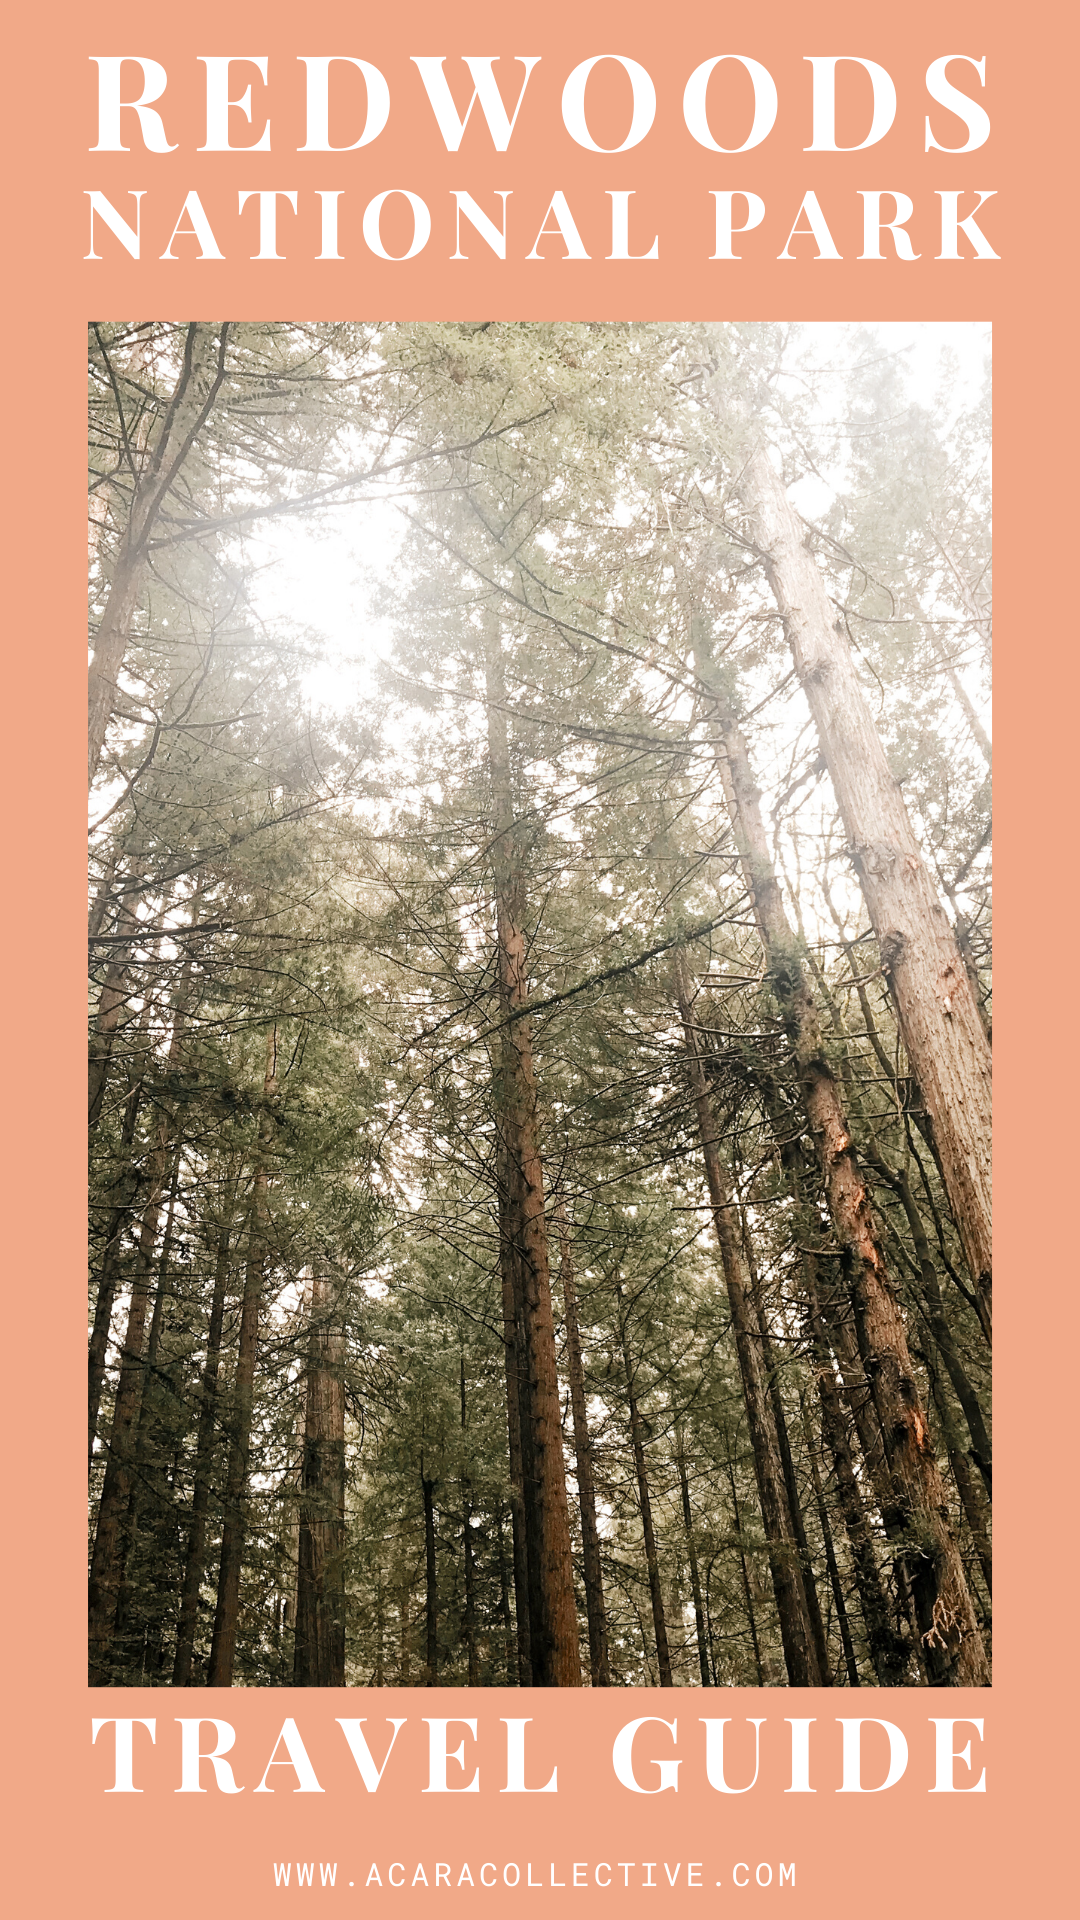
National Park Travel Guide: Redwoods PLUS My Scariest Travel Experience
While our time in the Redwoods ended up pretty different than we initially intended, it was still something we loved exploring and would highly recommend - just don’t do what we did and get stuck on the side of a mountain.

Hiking - Whether you’re looking for a short or long trail there are LOADS of amazing options at this expansive park! Here are some favorites:
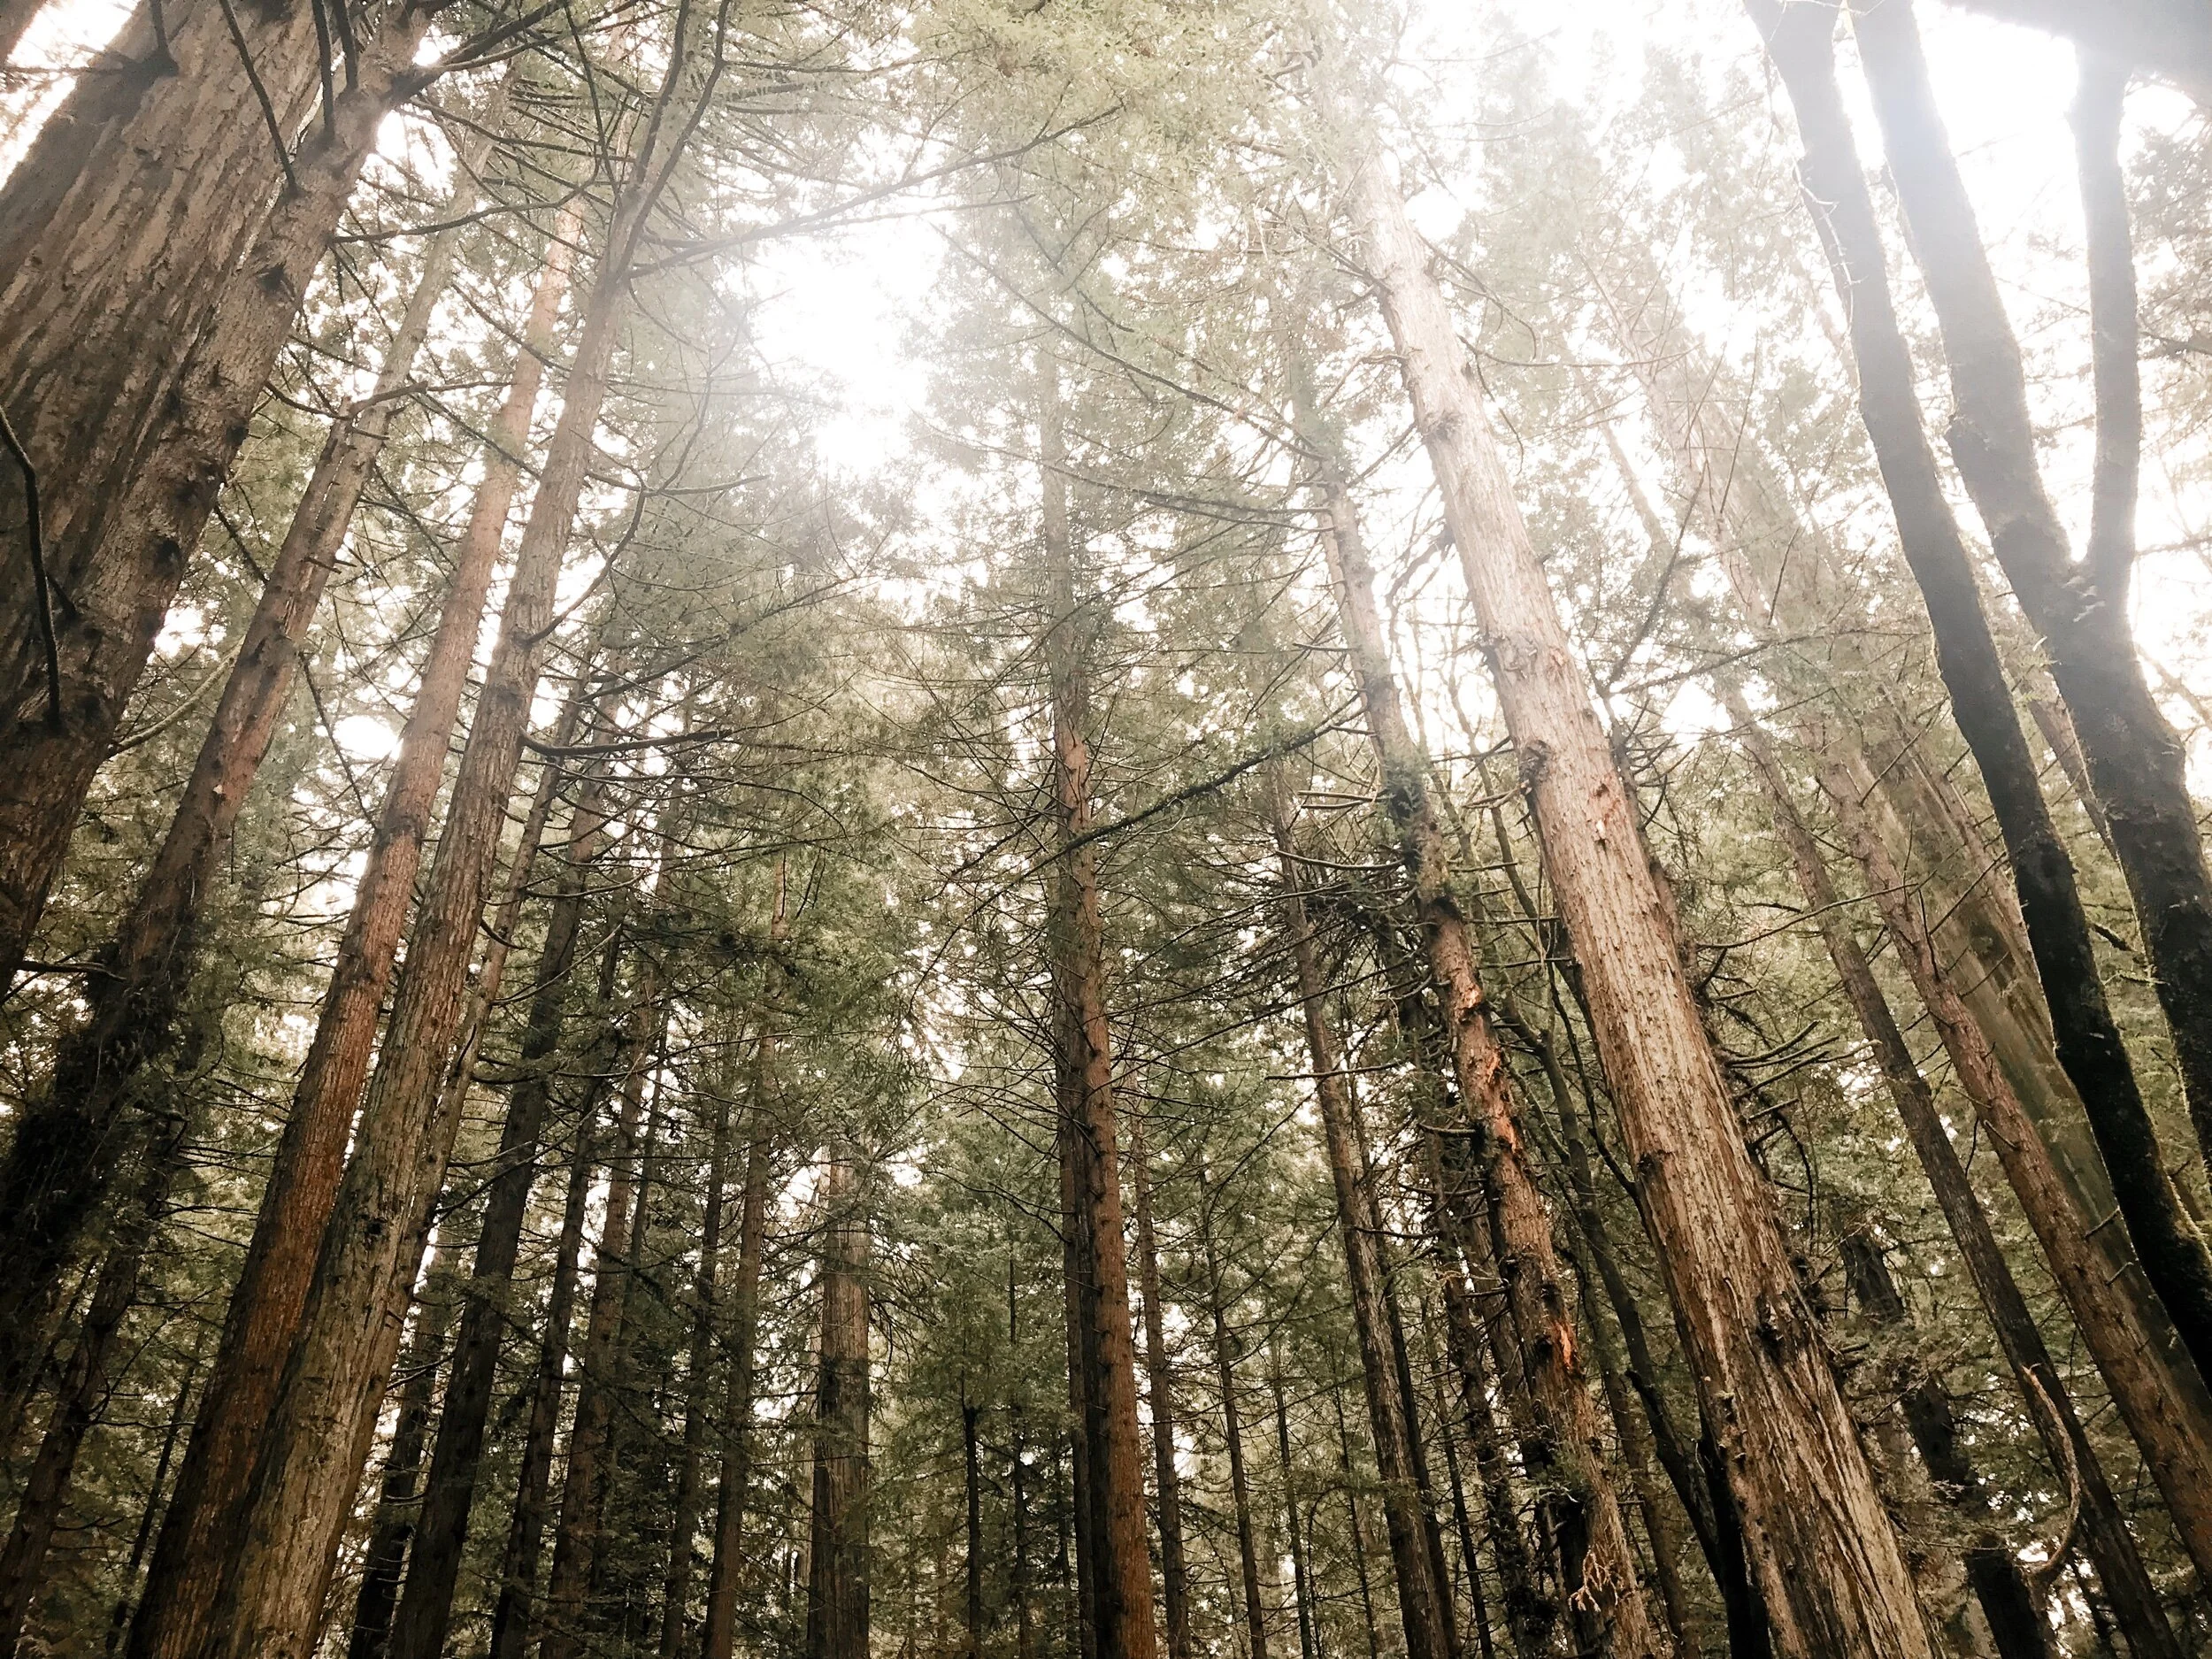
Circle Trail: Starting at Big Tree, this half mile trail takes you through the old growth showing you some of the biggest trees of the park and holy cow these trees are HUGE!
Lady Bird Johnston Grove Trail: Another short option, this half mile trail takes you to where Lady Bird Johnston dedicated the Park in 1968!
Coastal Trail: While in the woods it can be hard to remember you’re nearly right on the California coast! There are tons of access points allowing for day hikes along the beaches or coastal area. Depending on what area you choose, hikes can be anywhere from 3 to 6 miles in length and generally speaking most are considered difficult. If you want a shorter, easier option on the coast try Crescent Beach!
Scenic Drives - Depending on your interests and when you visit, you might want to check out views from your car. As someone who actually loves driving through parks, here are my favorite scenic by-ways!
Newton B Drury Scenic Parkway : 10 miles long and next to the 101 makes it easy to find. On this drive you’ll go to the Big Tree Trailhead and Elk Prairie Visitor Center (don’t forget your stamp!)
Bald Hills Road : Located just off the 101 North of Orick
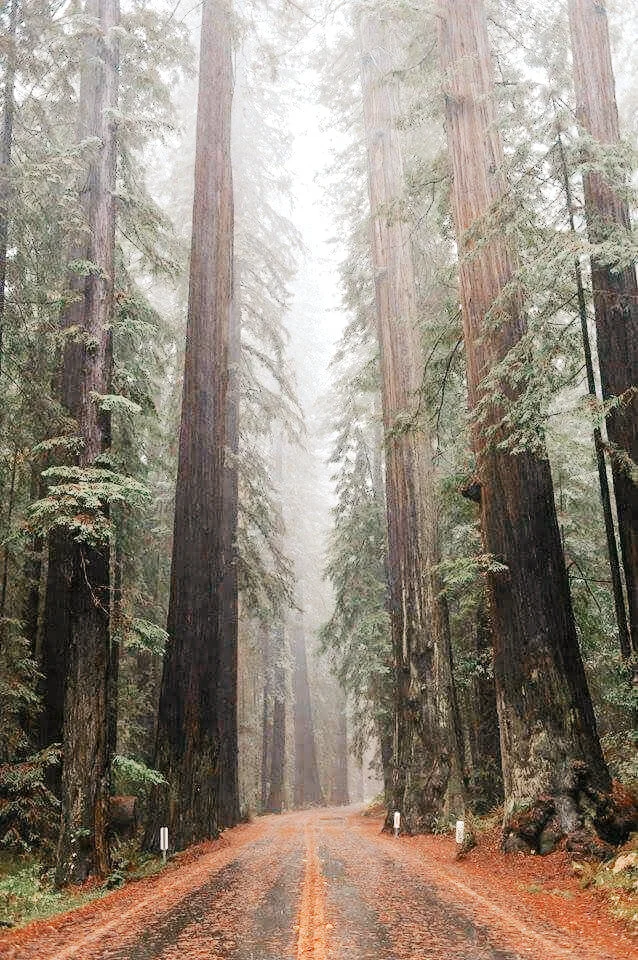
Avenue of the Giants : my personal favorite & one I highly recommend, this scenic drive starts off Highway 101 near Myer Flats.
Samuel H Boardman State Scenic Corridor
Drive Through a Redwood - throughout the area there a few places that offer this ranging in price of $8 or more depending. Typically there are somethings around to do as well like food or shopping stops. While we personally skipped this time since we short on time after being stuck on the mountain for a while, if/when I go back, I certainly would do this!
Watch the Wildlife - While I can’t remember us seeing too much on our drive, there are tons of wildlife in this park too! From bears to smaller critters, keep an eye out and you might spot something! Be sure to keep a SAFE distance and enjoy from afar!
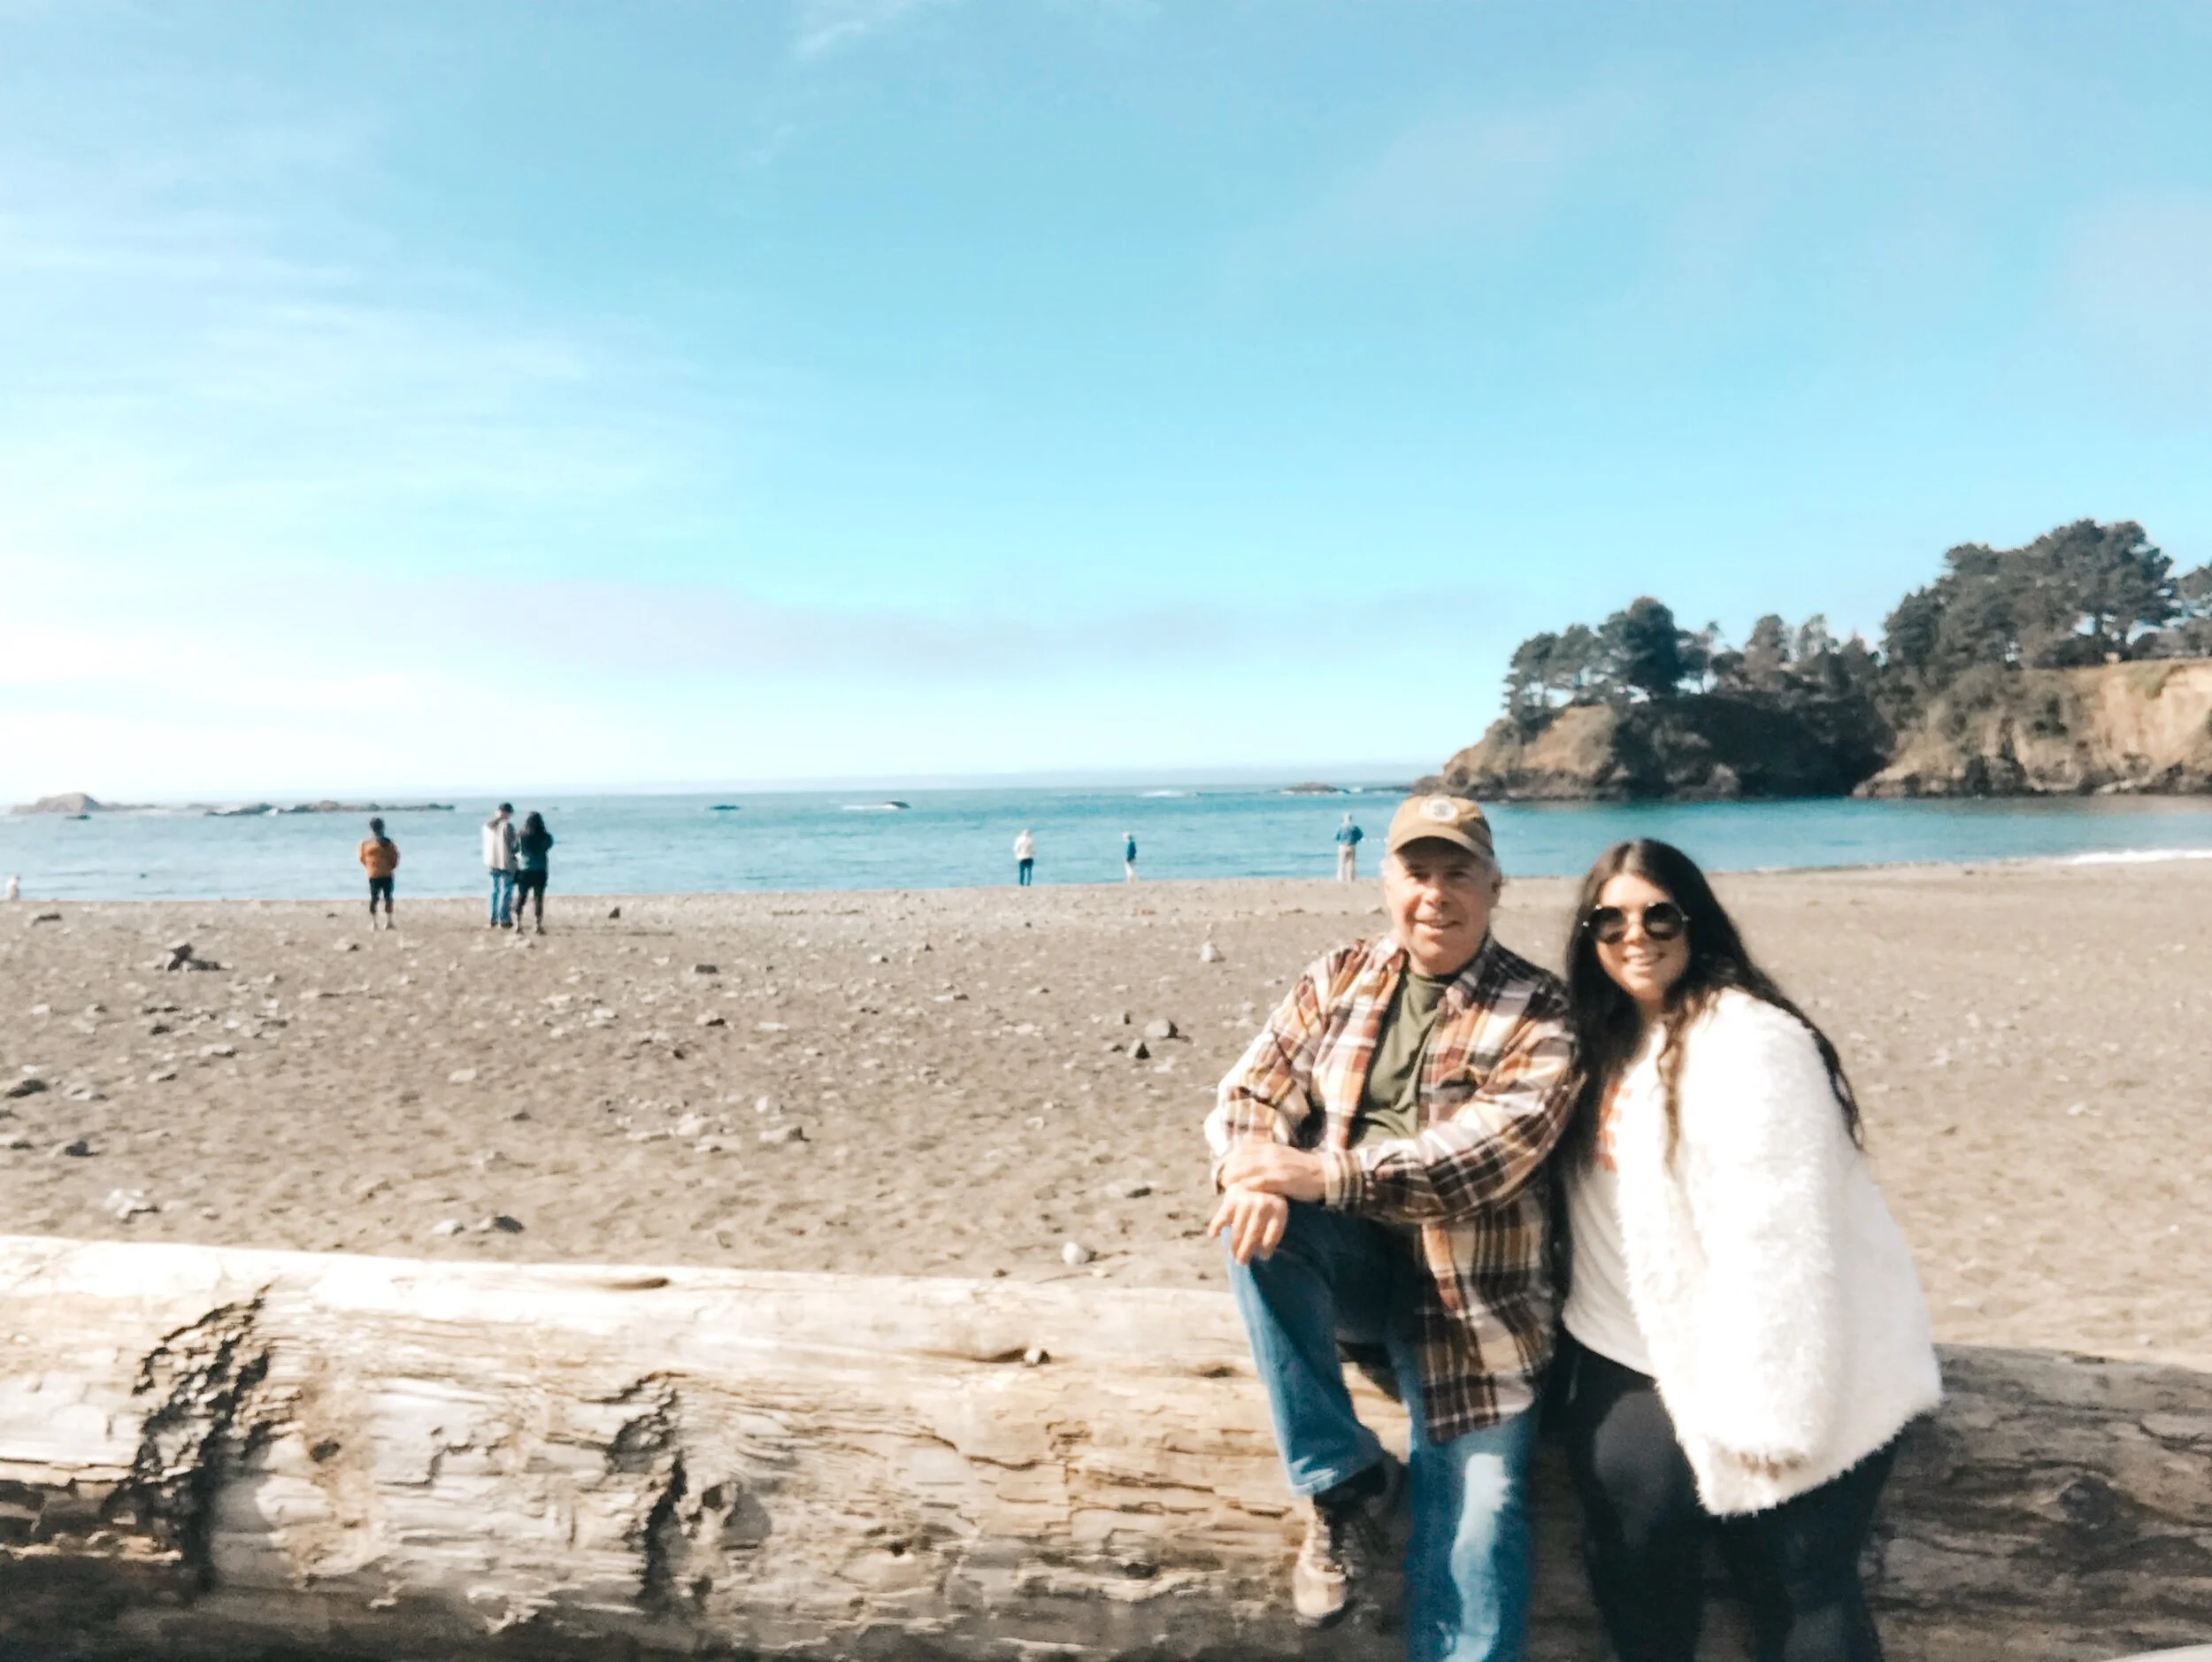
Check out the coast - While you might come up here for the forest, be sure to check out the coast! With many parts of the park actually being on or very near to the California Coast, you’ll miss out if you don’t make a stop on the coastal terrain!

Beware of the Wildlife - Bears call the Redwood home so be aware if you’re camping to not leave food scraps around and when hiking carry bear spray. If you do see anything be sure to enjoy the view from a safe distance away and DO NOT approach them!
Pack for all the seasons: No matter when you visit, it’s essential to dress in layers and be prepared for all the seasons. Given differing elevations your layers will come in handy!
Use the pull offs! With thousands of people driving through the park regularly traffic is a huge issue. Don’t make it any worse by stopping in the middle of the road to check things out. Use the pullouts, get your long views and enjoy but be courteous to others.
Leave No Trace - You might hear phrases like this throughout the Park & the community who appreciate it but it is a pinnacle of being a steward to our parks. Do your very best to make as little impact as possible on nature by keeping vehicles on paved areas, not disturbing or altering wildlife, cleaning up after yourself (and others), essentially - leave it better than you found it.
If you want smaller crowds, consider visiting in the off-season or even shoulder seasons!
Know your hiking abilities and pick trails accordingly. It is totally ok to not be a professional hiker who can’t take on the difficult hikes. Taking on hikes that are above your abilities will almost certainly end in injury or some other emergency you don’t want ruining your trip. Be safe and pick trails in a smart way. You can always go back if something is too difficult.
Be flexible with weather! The weather in this part of California can change from one extreme to the other quickly- conditions of the roads and trails are always changing due to landslides, fallen tree, etc. Be sure to layer, bring gear for all weather types and be ok with changing plans to stay safe.
RV’s & Trailers are PROHIBITED! While this isn’t true everywhere, it is nearly everywhere. This park is best visited with a regular vehicle if possible. If you are wanting to bring an RV or trailer be sure to do your research and plan ahead prior to visiting.
Pack food BEFORE you go! Here, this is a must given that food options near the park are very, very scarce. Be sure to stop at a store and prep your food before heading out on your adventures!
Pets are discouraged in the Redwoods. On top of this, they aren’t allow on any hiking trails - only permitted areas on developed roads and campgrounds. If you’re planning a trip here, it would be best to leave your fur baby at home or in their favorite doggy hotel!
Tell someone what you’re doing & set up a check in time/date - any time you’re in the outdoors with spotty service be sure to share your plans with someone outside the park. By setting up a time/day check in you can be assured if emergency arises there will be someone to report you missing.
If you see Marijuana Plants… get the hell out of there - alright so this might sound kind of weird, right? While I personally have zero problem with marijuana (in fact I think it should be totally legalized & decriminalized retroactively as well) if you come across these in a NP it’s likely part of an illegal situation. Having actually had this happen to me in the Redwoods I can tell you some of the folks running these ops will not hesitate to harm you to keep what they’re doing secret. As soon as you realize what is going on, get out. Don’t take photos or look around, just leave. Go back exactly how you got in and be as quite as possible. Get to a safe location as far away as possible and if you would like, notify the Park Dispatch with your exact location (coordinates or physical description).
Have an emergency? Call 911. While your cell might not work in the park, there are pay phones and emergency phones located throughout the park as needed and any will dial 911.
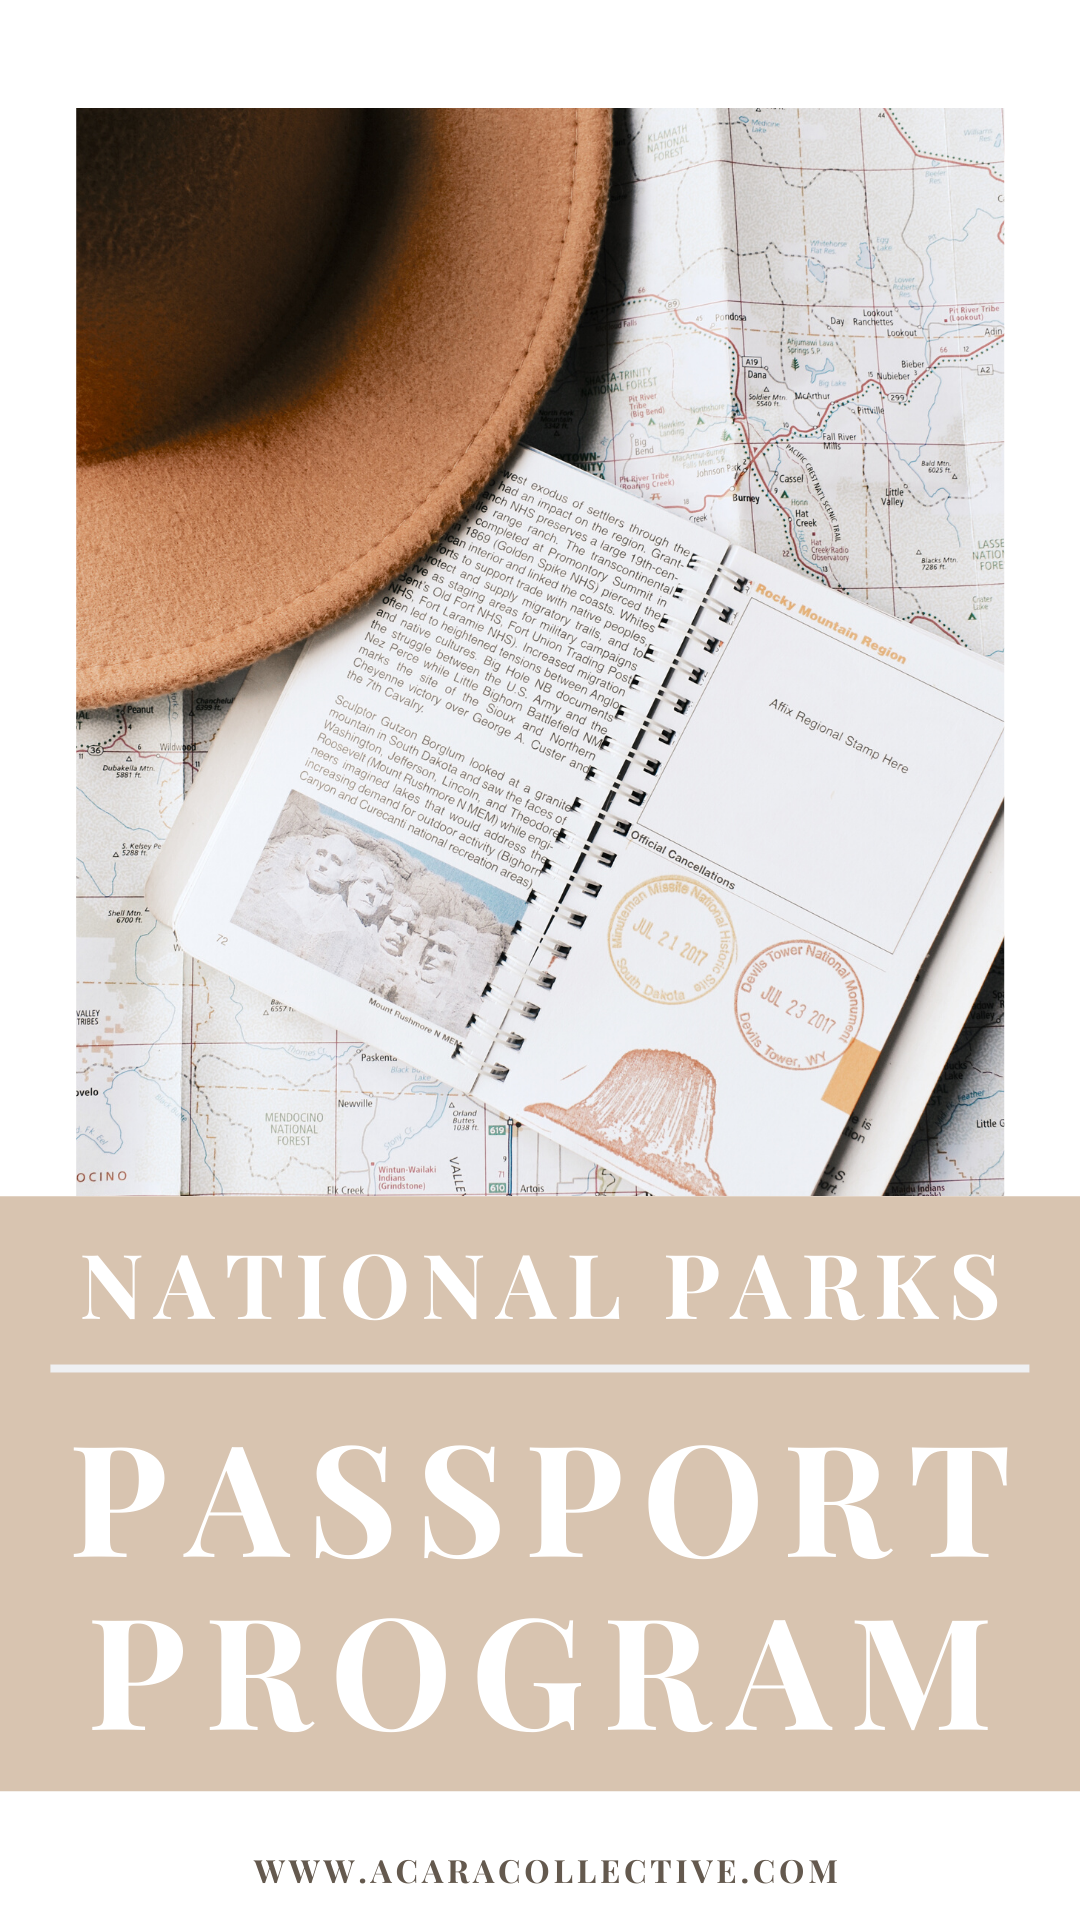
Where is the Redwoods National Park Passport Stamp Station? You can find the main stamp at the Hiouchi Visitor Center with others in Crescent City, Orick and Prairie Creek.