Mushu Inspired Disney Bound in Fabletics (Copy)


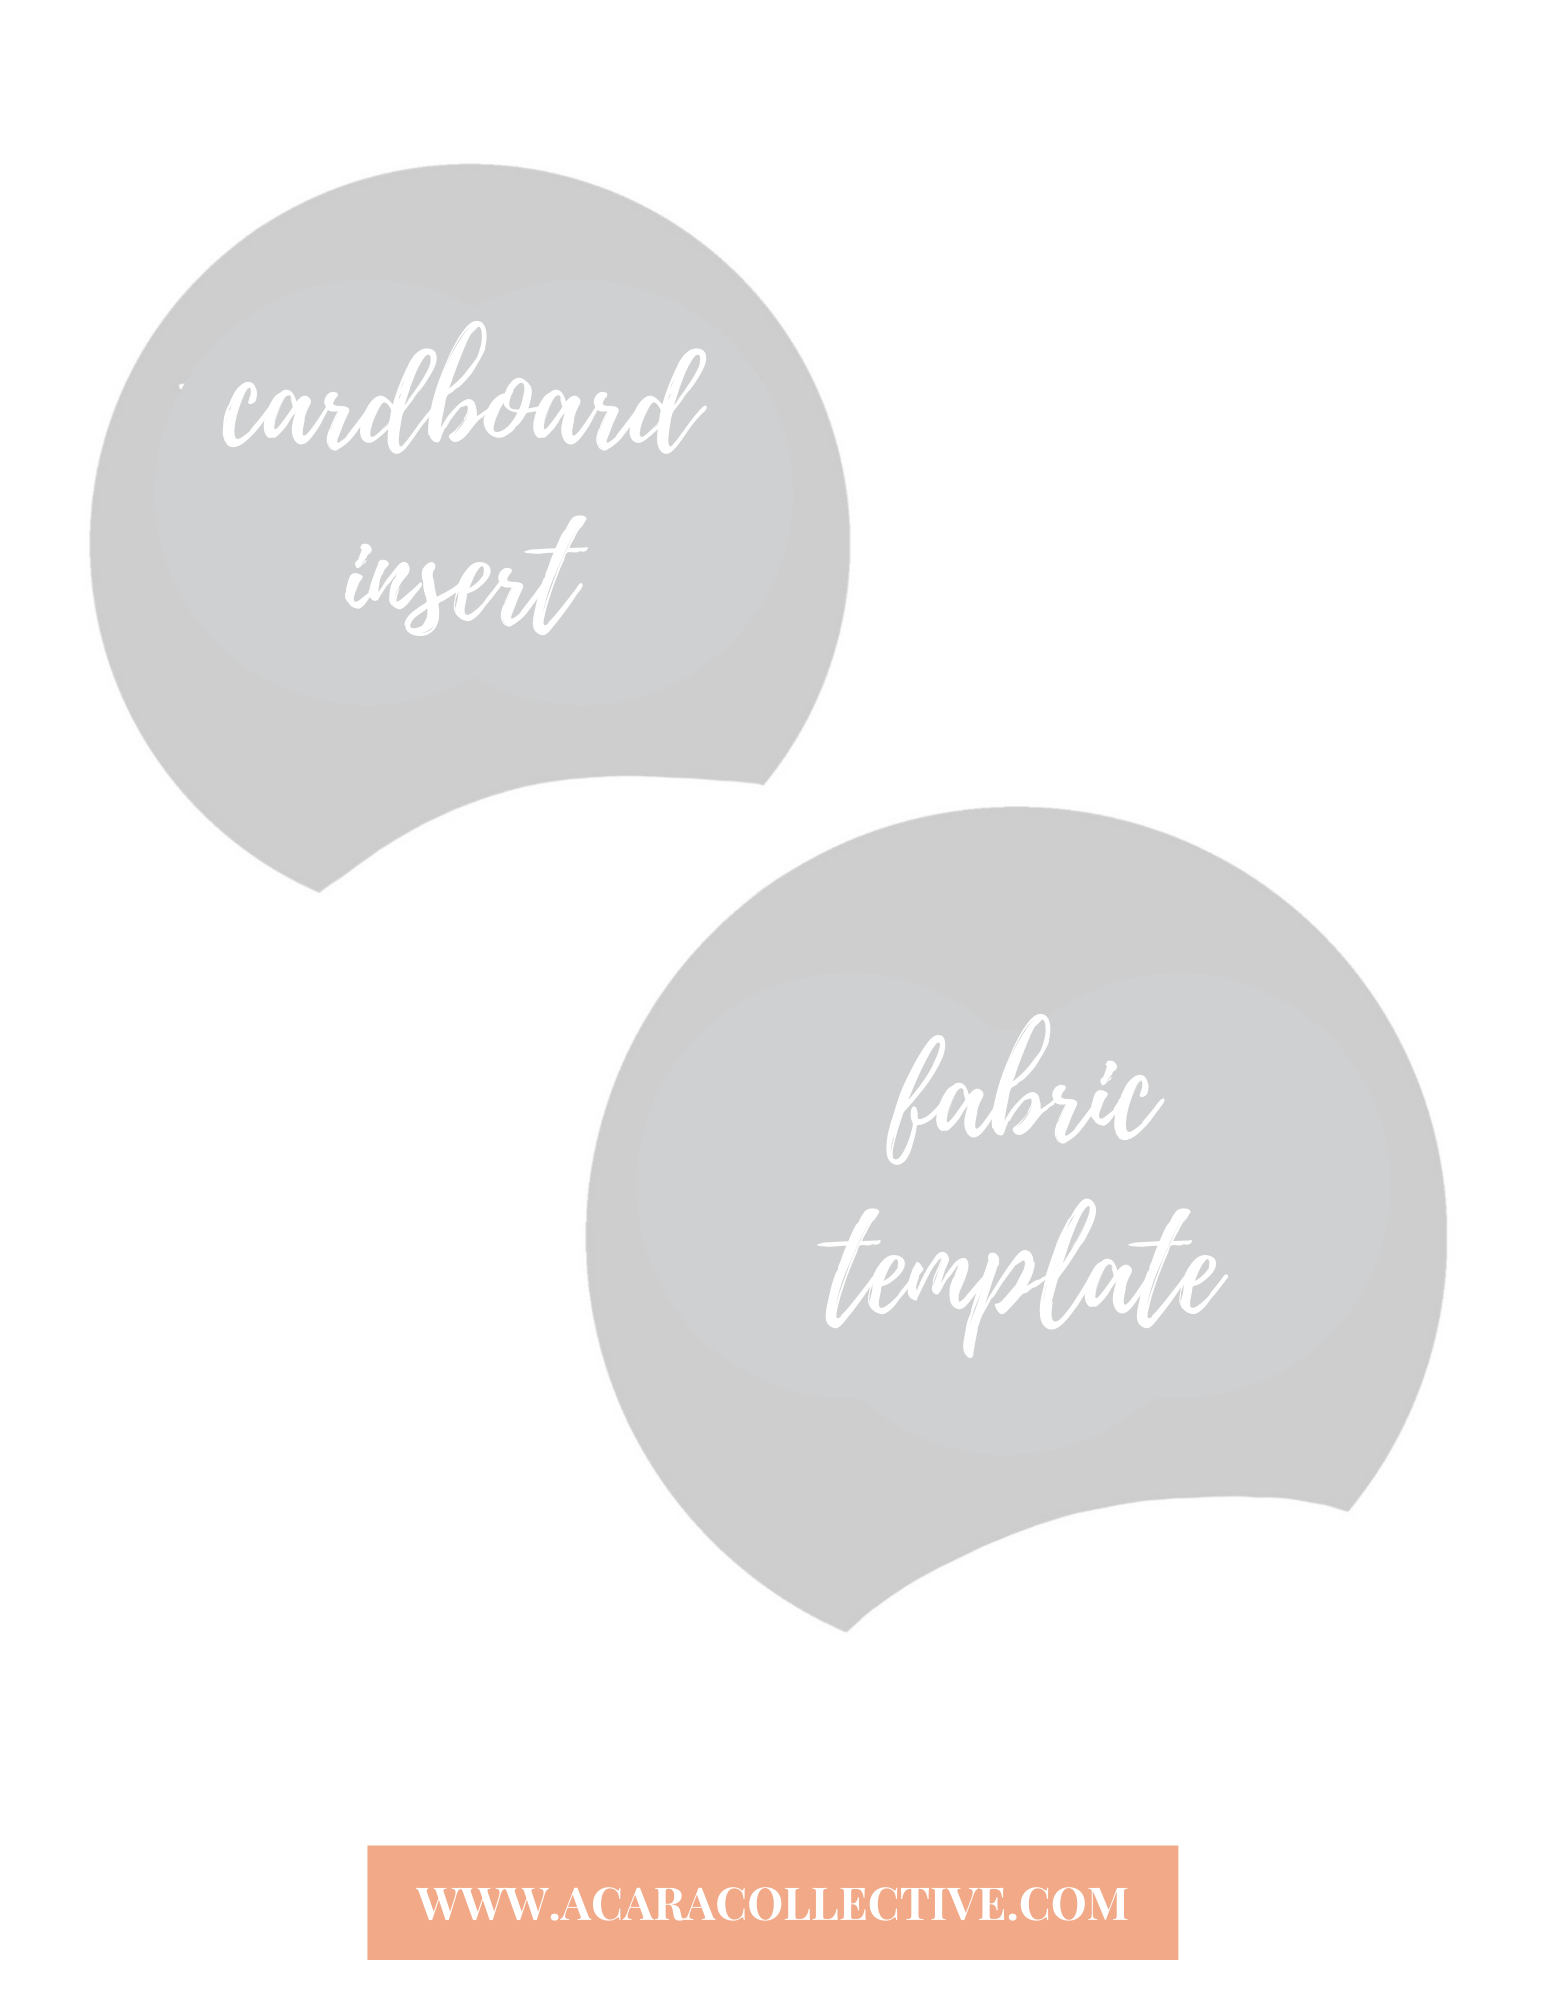
Be sure to print this on your standard size of paper (8.5 x 11) for ears
Measurements for covering headband are 16 x 2 inches
Measurements for bow are 5 x 10 inches
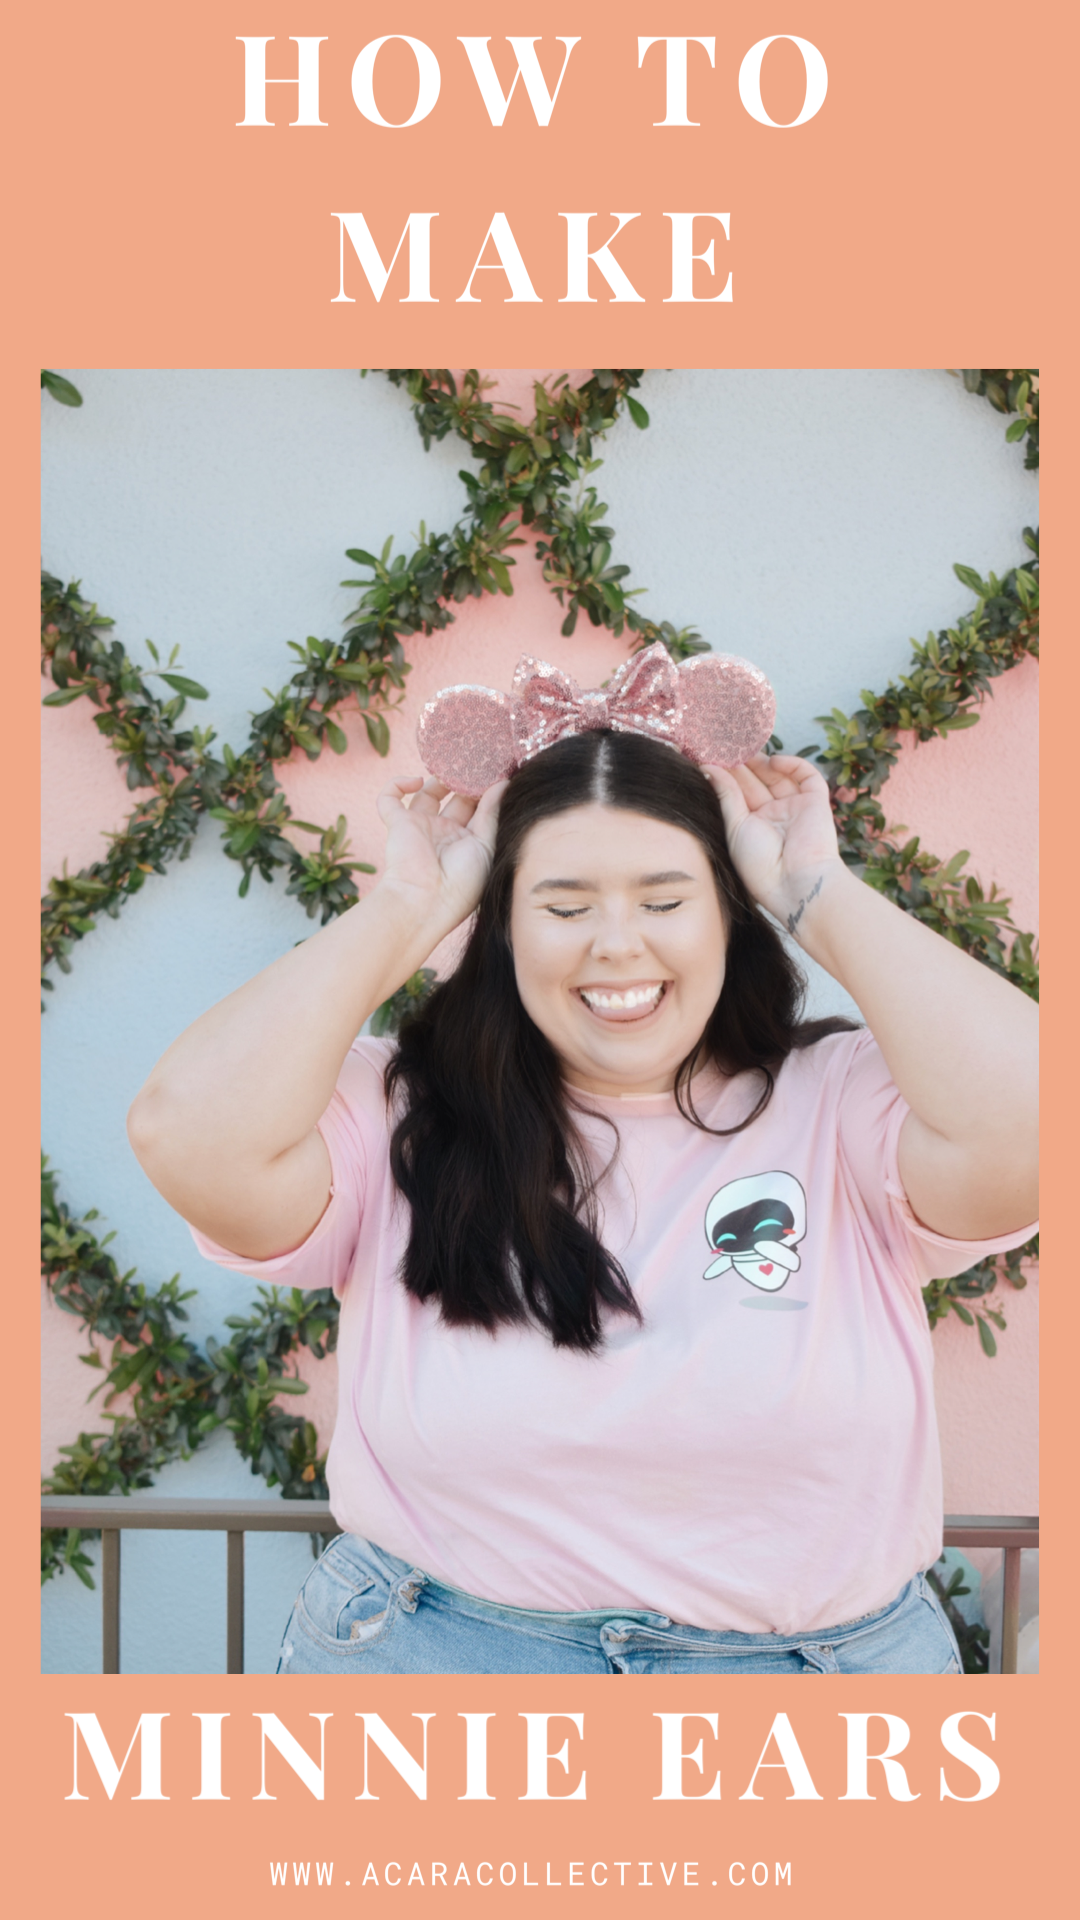
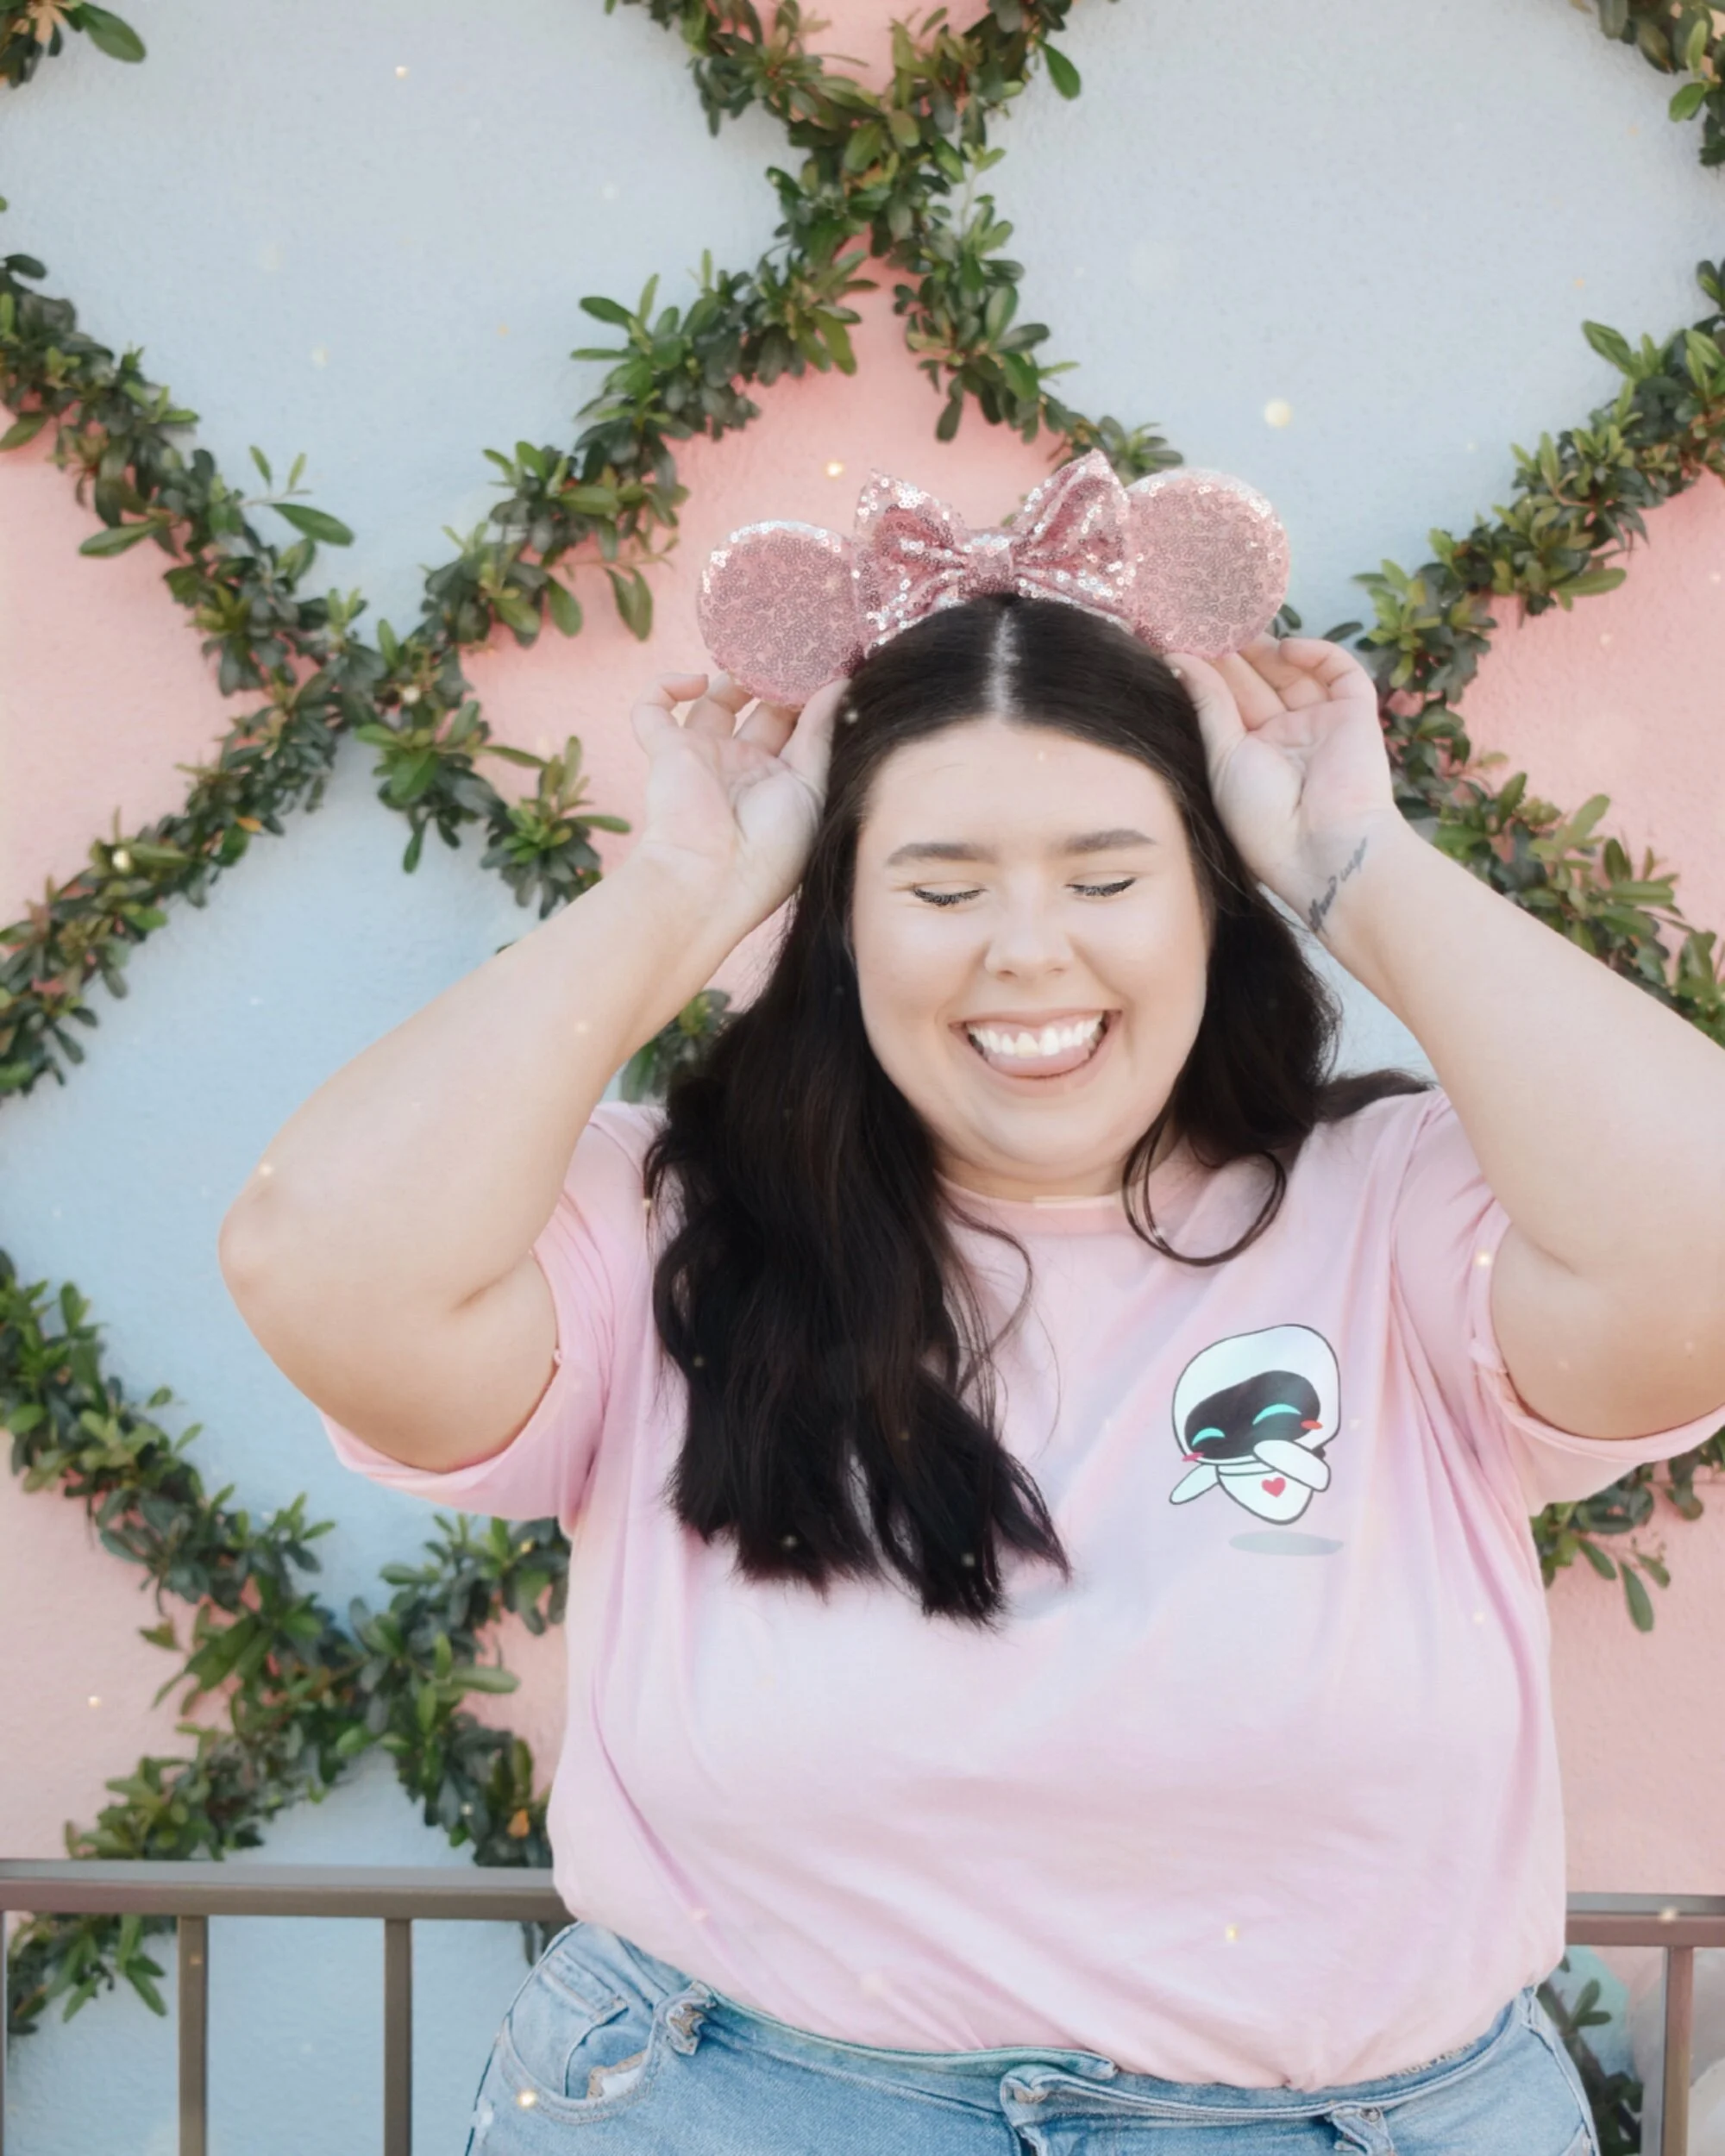
In this time at home after our most recent trip to Disneyland I decided I want to teach myself how to make these cute ears! Since then, I’ve tried about four or five different methods and found one I personally like. Plus, I feel like the method I show you is the easiest to replicate regardless of how advanced your crafting skills are which is always my goal with DIY! For this tutorial, I’ll be sharing the newest ears I’m making: Hades!
View this post on InstagramA post shared by Cara Lentz ✨ (@acaracollective) on
Above I’ve shared the IGTV video I created to visualize this process. Below I am sharing step by step with links to tools and materials to purchase if you decide to try this out!
ONE
Gather all your materials for making the ears! This includes:
Fabric: Sequin, Knit, or really any kind you can imagine! If you’re just starting out I recommend a knit to make it a bit easier! Additionally, one yard will totally be enough- for me, one yard typically can make at least four pairs of ears!
Headband: I have purchased these and am currently loving these! If you plan on making ears with more surface area, I recommend trying a wider headband!
Needle & Thread/ Sewing Machine: I personally sew mine by hand because I have the time now and am not mass producing (yet!) BUT if you have a sewing machine it would make things go much faster!
Hot Glue Gun & Glue: I personally use the Michaels crafts glue gun and also recommend this one! Be sure to have lots of glue gun sticks on hand (I’ve run out mid project and it was a mess!)
Foam Board of Up-Cycled Box Cardboard: I have bought this foam board and find it is a tad too thick for my desired look. However, I’ve been up-cycling my various cardboard boxes from the mail (like a USPS box) and have found those work perfectly!
Batting: I use this kind or this kind but truly any batting will work. I don’t recommend getting straight up foam but if you do, get a firm one and skip the cardboard insert.
Fabric Fuze or Stiffening Spray: You might not necessarily need these but if you want a more firm ear or want a cleaner glue on the front, be sure to use these!
Templates: You can either trace ears you have for a rough idea OR you can find my template here including dimensions of what I cut!
Scissors: Be sure to use fabric scissors when possible on fabric (and fabric only!) but if not, opt for the sharpest scissors you have.
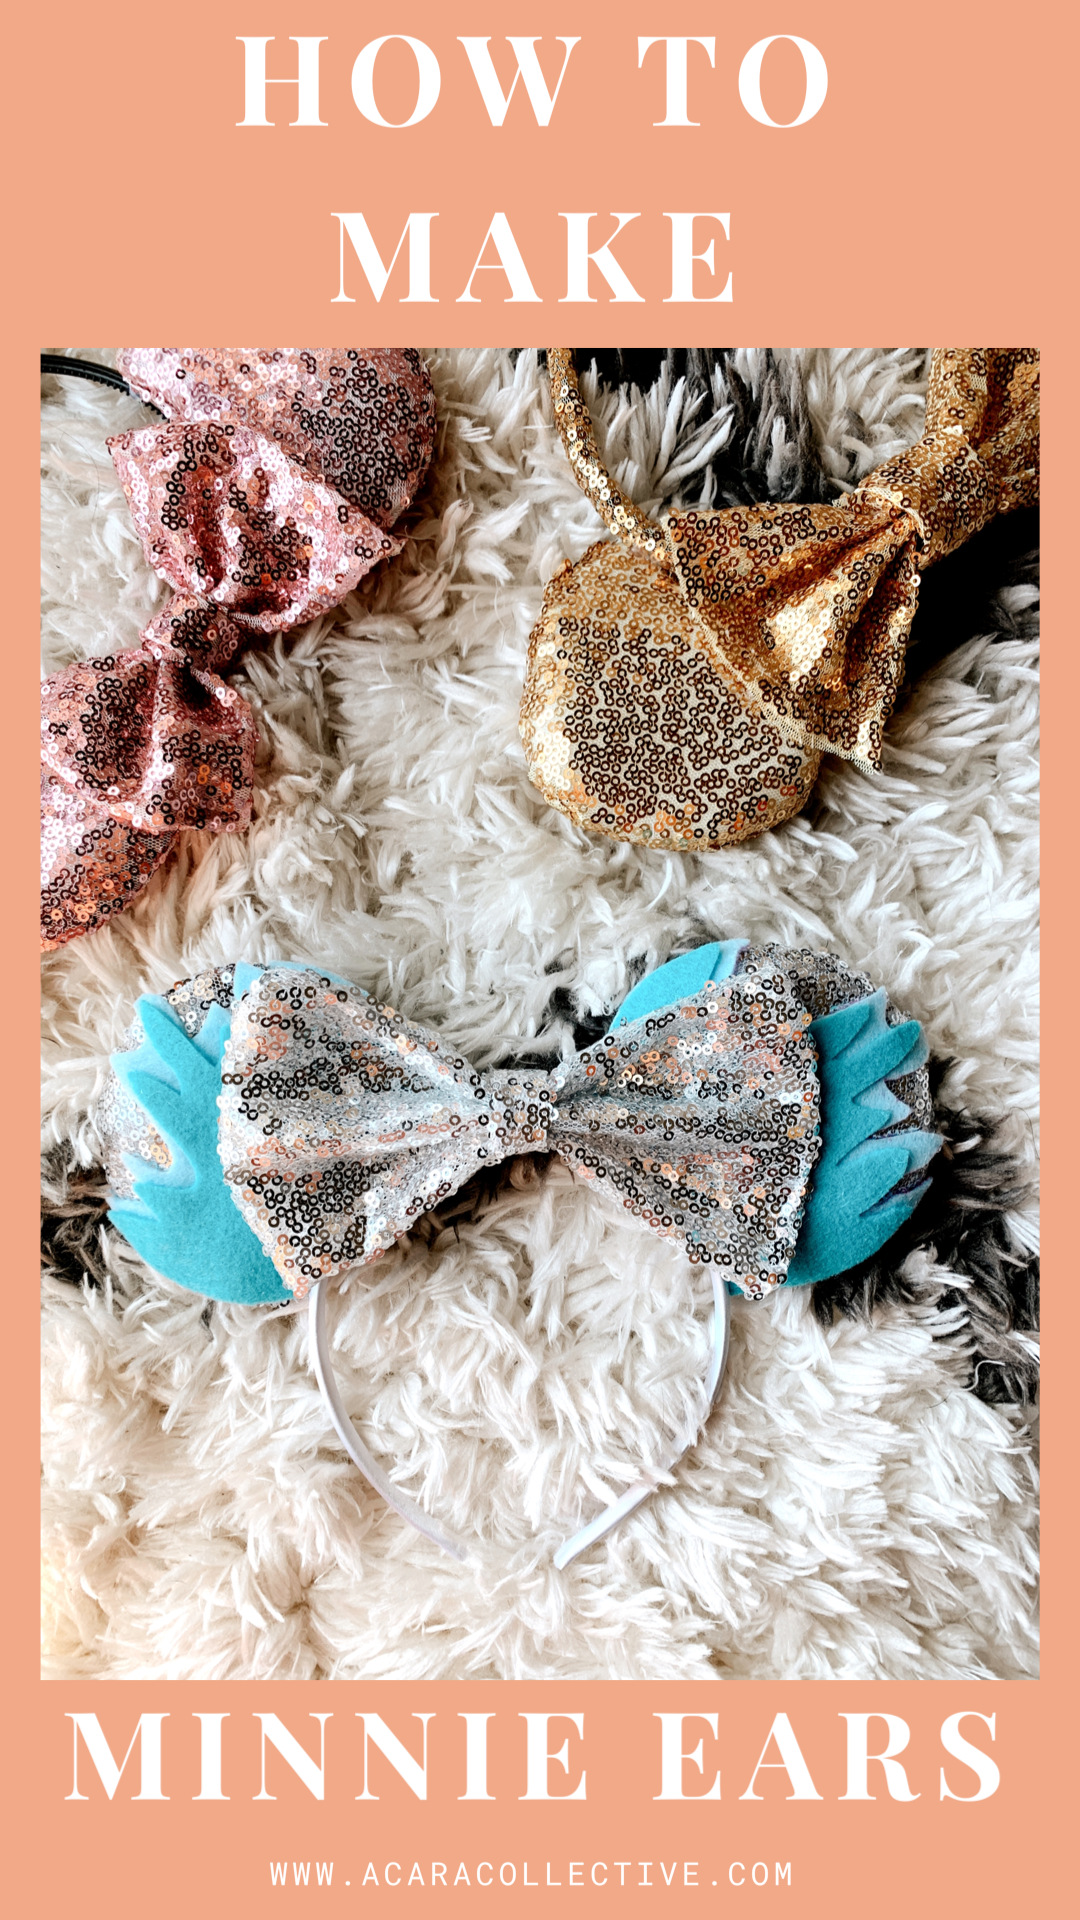
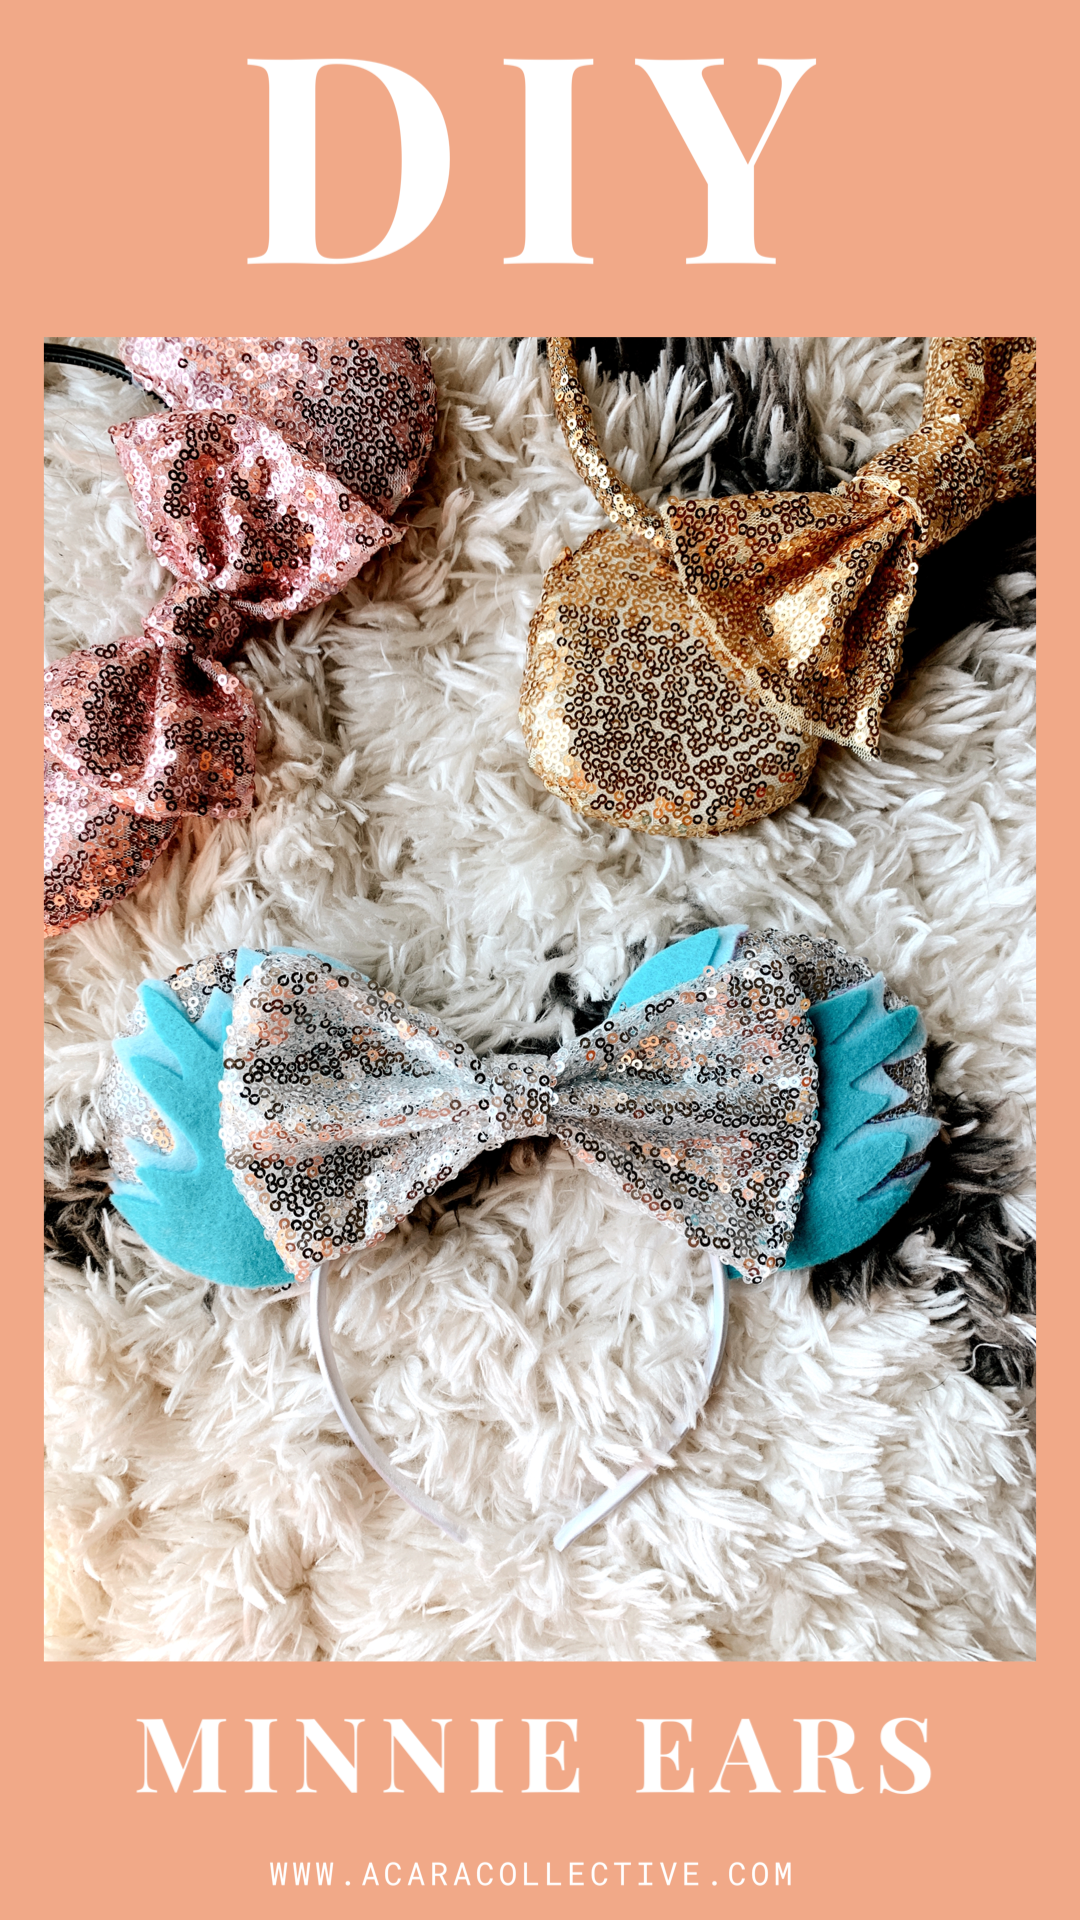
Extras: From felt to glitter paint or charms for the middle of your bow, you can customize any plain pair of ears to be something a little extra special! Sky’s the limit so get creative!
TWO
Taking your templates, trace out your patterns on the fabric and cut! A great tip for the ears fabric is to place them on a piece of fabric that is double the needed length and fold it in half (shown in video) to be able to cut both pieces at once! Be sure to also take the smaller template to trace on the cardboard and cut that out as well setting aside. Using the same smaller template, cut out four batting inserts - two per each side (a front and back)
THREE
Once all your fabric pieces are cut out, sew them together. Be sure to leave the bottom of the ears open so you can insert cardboard and batting. For the bow, be sure to leave a bit at the edge available to flip inside out before finishing the seam.
FOUR
For the ears, place the cardboard insert inside then place each piece of batting (two per ear) on each side of the ear. Once filled, be sure to sew up the bottom. Repeat for other ear and set aside when completed.
FIVE
For the bow, seal the final seam of the rectangle piece. Taking the thin and short piece (1.5x4 in) take hot glue and place near each side folding the fabric in to create a clean edge on both sides. Accordion fold the rectangle bow piece as desired and tie or sew the middle point to keep the bow together. Once tied, place a dollop of glue on the decided back of the bow and place the thin piece, continuously wrapping around until you reach the back again. Cut off any excess fabric and set aside for another pair.
SIX
If you plan on adding extras to your ears, like I’ve done for these Hades ears, be sure to do that before gluing to the headband. Once done, place on headband without glueing to ensure they are evenly apart and, if using a sating headband, mark on the top the middle of the ear so finding its place is much easier when gluing.
SEVEN
Take your hot glue gun and apply to the bottom of the ear (where it attaches to the headband) towards the back (as shown in video) and place. Be sure to hold. Repeat on other side and once firm, flip to show the back of ears. Apply another layer of glue as shown to secure the ears to the headband and let firm.
EIGHT
Once ears are glued, glue the bow into the middle of the headband. Once initial glue is dried, flip to back and secure as you did with each ear.
NINE
Flip ears back to the front and place a small amount of hot glue on each ear where the bow touches to keep the bow up and not drooping.
TEN
If you want your ears to be more stiff, place in shallow box and spray with Stiffening Spray. If not, make any necessary touch ups, let rest and you are done!
I hope you found this tutorial and instructions helpful! If you’re looking for some inspiration for ears, I’ve created a Pinterest board here for you to check out!
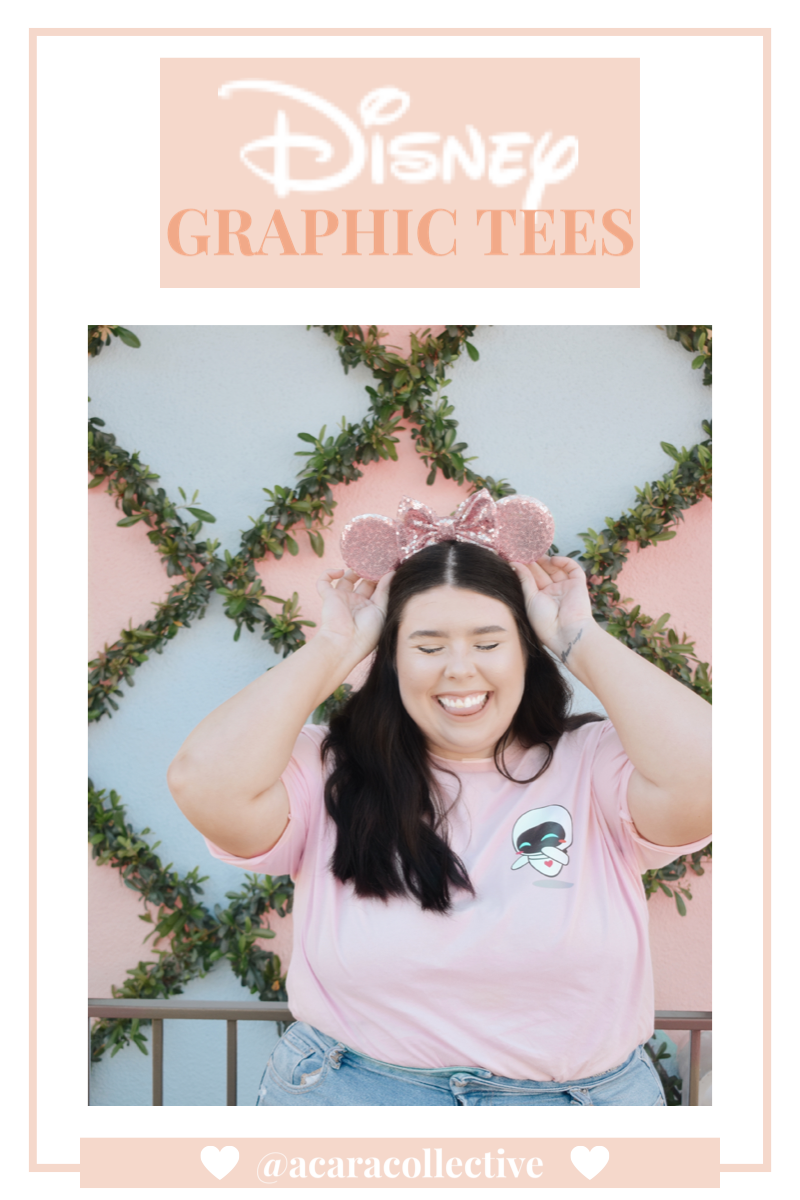
Sharing many of my favorite Disney Graphic Tee’s from Etsy small businesses! Feel free to share you own favorite small & local businesses in the comments - bonus points if they’re magical!